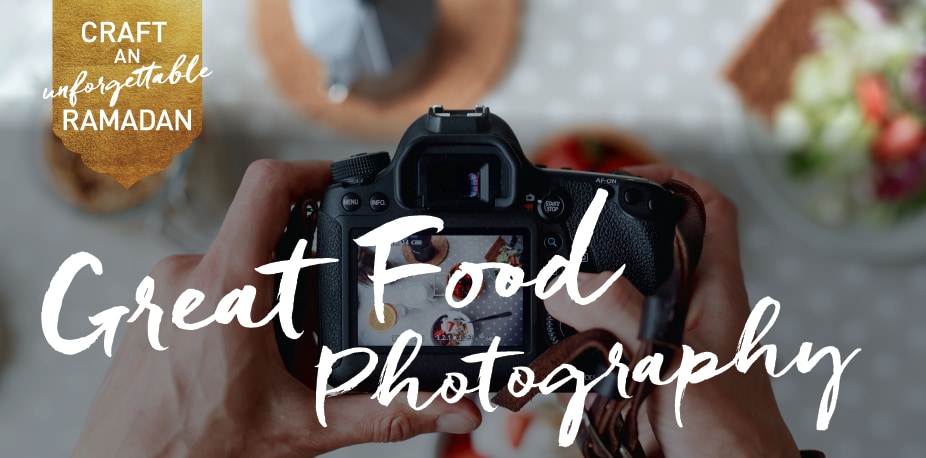
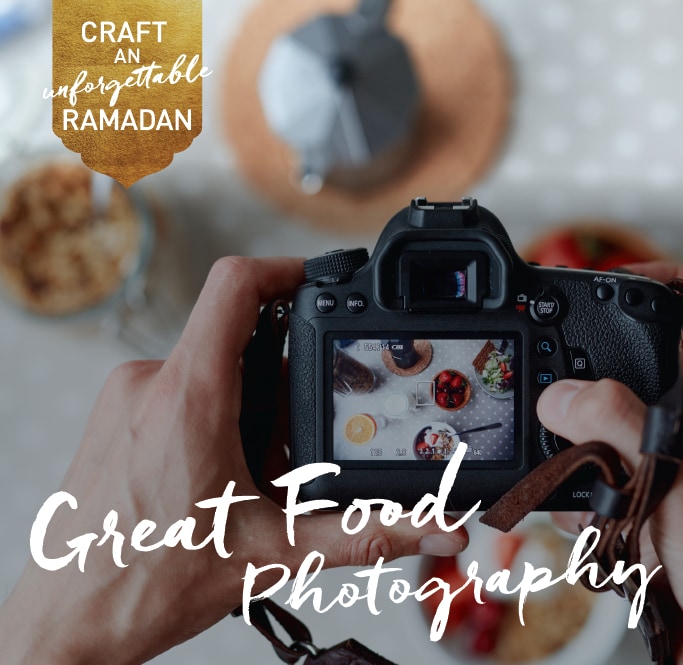
Beautiful, high-quality imagery of your food is a great way to illustrate your menus and show off what you can do. This can boost your bookings and income by broadening awareness of your restaurant and enticing people to try your delicious offerings.
But the last thing you want are photos that make your best dishes look boring. Follow these simple photography hints for making your food look picture perfect.
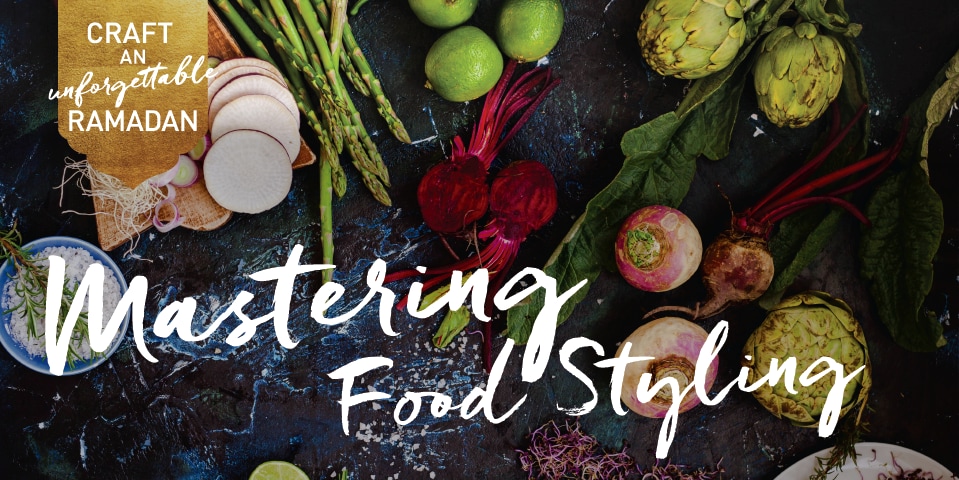
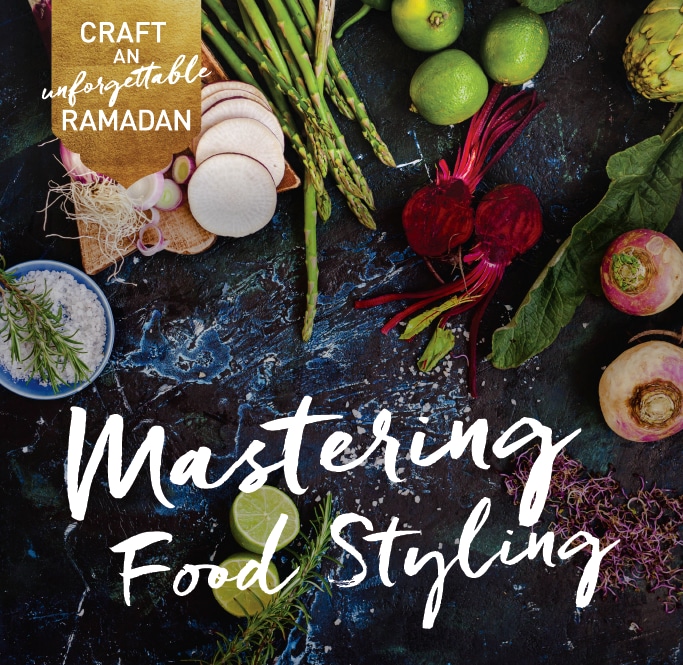
Create a scene
Great food photography rarely consists of a simple snap of a meal on a plate. Frame your food with props to tell a story. These could be bottles of sauce or ingredients, like herbs, that show how a dish was made. They could say something about the origins of the food, such as an Arabic coffeepot next to a piece of traditional honey cake.
Pictures for menus can be reasonably static. But for Facebook, Instagram and other social media, it’s a good idea to get a little action into your photos, be it steam rising off a hot bowl of soup or a knife cutting into a pie. Consider featuring staff and diners in the background or a wider image of your restaurant and its surroundings, particularly if they include beautiful beaches or historic buildings. This adds character and means you’ll be selling your restaurant as a complete experience to potential customers, not just the food itself.

Consider colour and lines
You want your dish to be the focus of attention in your photos, so make sure other colours in the picture complement or highlight it. Try placing a bright, fruit-filled Strawberry and Orange Knafeh Parfait against a neutral background, for instance. Spruce up the look of a brown curry by putting red chillies on top.
Use props and ingredients to create lines in the photo that lead the viewer towards the food. A spoon pointing towards a bowl of mousse, for example.
Let there be light
If possible, take your photos in natural light. But soften and disperse it by placing a white sheet or similar across your window. Cut out bits of black card and use them to block light from hitting parts of your arrangement that will compete with your subject. White cards can be used to deflect more light to where it is needed.

Work on your angles
Different foods look better when photographed from different perspectives. Drinks or meat, such as joints of roast beef, appear better from the side, so you can give a sense of how big and tempting they are. Salads, stews and many other dishes are best snapped from above, so diners can see all the great ingredients you put in them.
Tighter shots often work best for Instagram so they can be easily cropped into the square image boxes on your feed.
Keep things looking fresh
Fruit and vegetables look perkier if you spray them with a little water before shooting. Meat appears more succulent if you brush some oil on it, particularly if it’s been sitting around. Slightly undercooked food tends to look fresher in photos. And, whatever you do, make sure the plates and cutlery in the image are spotless.
It’s all in the edit
If, despite your best efforts, your photos aren’t quite what you’d hoped, photo-editing software, such as Photoshop, Lightroom and Affinity Photo 1.7, may well come to your rescue. It allows you to remove things that shouldn’t have crept into shot, make images lighter, sharper and much more.

The right equipment
A smartphone or basic point-and-shoot camera can be fine for shots for Instagram, Facebook and the like. But for greater focus control and often higher-quality images, it’s worth investing in a DSLR, which start at around 1,000 AED. Food photography experts recommend the likes of the Nikon D3400 and Canon 80D.
A 50mm lens is great for food photography, though longer lengths, such as 100mm, are good for close ups. If you want to avoid blurry photos, it’s a good idea to use a tripod.